The perfect commuter bike – self build
About this time last summer I crashed my long term fixed commuter into a lamp post. I lunged away from the lights and then forgot to keep pedalling. I’ve no idea why this happened as I’d happily been riding fixed for 15 years and without an issue. I think I was tired, not concentrating or both. Anyway I threw myself and my bike onto the floor and slid along the tarmac until I hit a lamppost and snapped the front wheel in half and slammed all the force through the bottom bracket into my back. Good times.
After this I thought that perhaps I’m too old for fixed gear commuting and a more relaxed style of riding was probably more appropriate. It’s also a real pain having to clip in all the time for riding around town. The fixed went back to Neil, who was the original owner, and has now been repurposed as a shopping bike with a cute little basket on the front.
A few people have expressed an interest in the build I replaced that bike with so have written up some of the choices I made to build my ‘perfect commuter’ bike and how I did most of the self build. It’s been a perfect bike for rolling around town on but is now being replaced by something else. As usual it starts with a thought about maybe trying to build it from bits that are in the parts box but quickly changes into something else and the budget inevitably goes up – I tracked it all through a spreadsheet to try and avoid going too crazy. All in it was £1300, not cheap but then I don’t really pay any money in travel – £7 a day on the bus and underground soon adds up.
The main aim was for slow commuting. Flat pedals, normal clothes and not to be in a particular rush. A relaxed way of getting to work and also not be too good looking that you couldn’t leave outside the pub. I thought I could also use it for a bit of canal path bashing, my ride home to Bath from London etc.
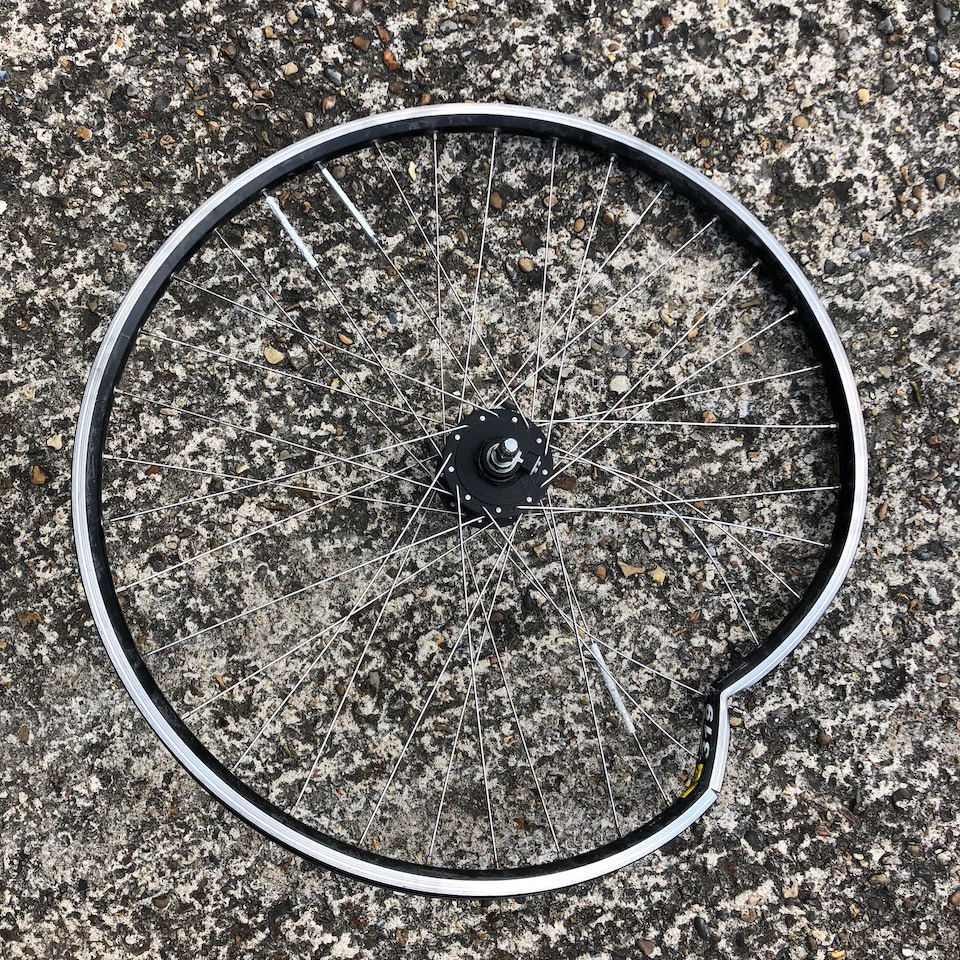
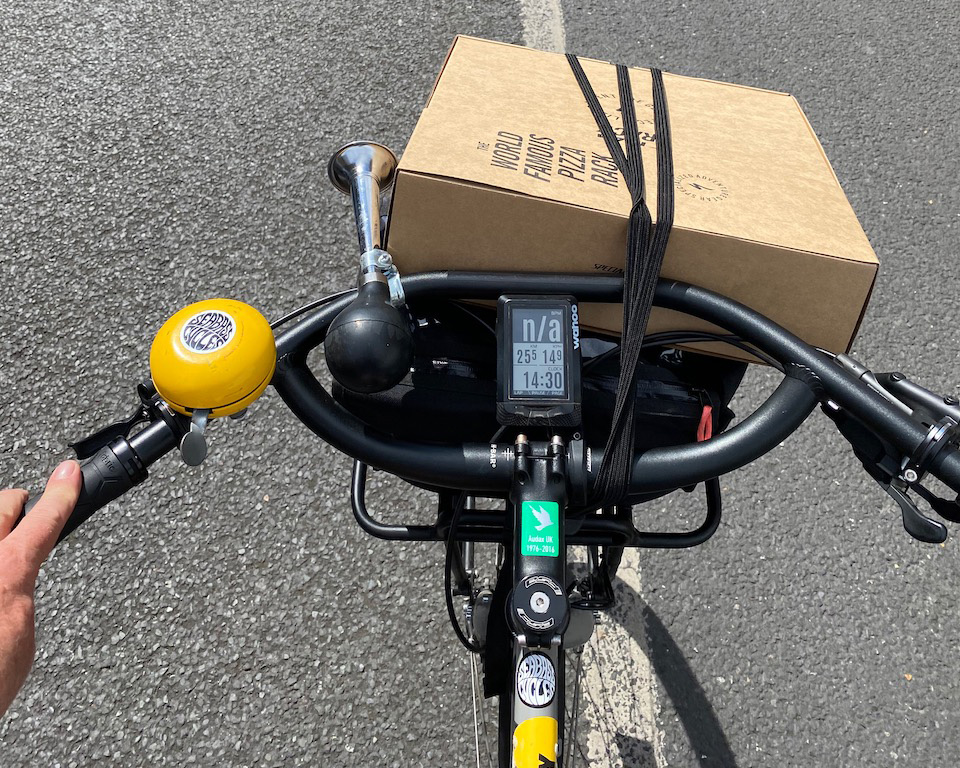
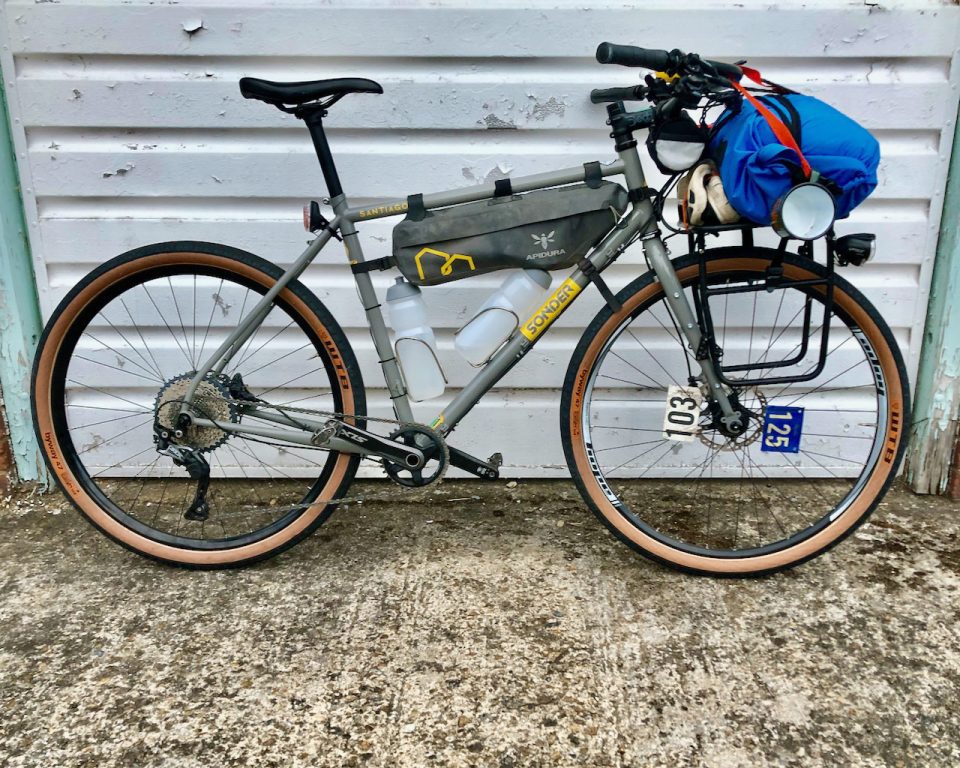
The bit that started this off was having a 650b dynamo front wheel lying around and sat on a hook in the garage. I had bought from Clare for £100 and was a bargain I couldn’t pass on (the hub alone is £95) online but didn’t have a use for it at the time – I know, not exactly the definition of a bargain. That’s where the idea of a 650b commuter came from in the end. Next thing, well I really wanted a pizza rack on the front rather than the basket I’d had on my fixed. It’s hard to fold a bag into it and a bit more practical. It’s great strapping a bag on the front and not having a sweaty back when you arrive there – this I learnt from my Brompton days. I also really wanted to use 650b but in a bigger volume tyre for more comfort and the occasional off road bit perhaps.
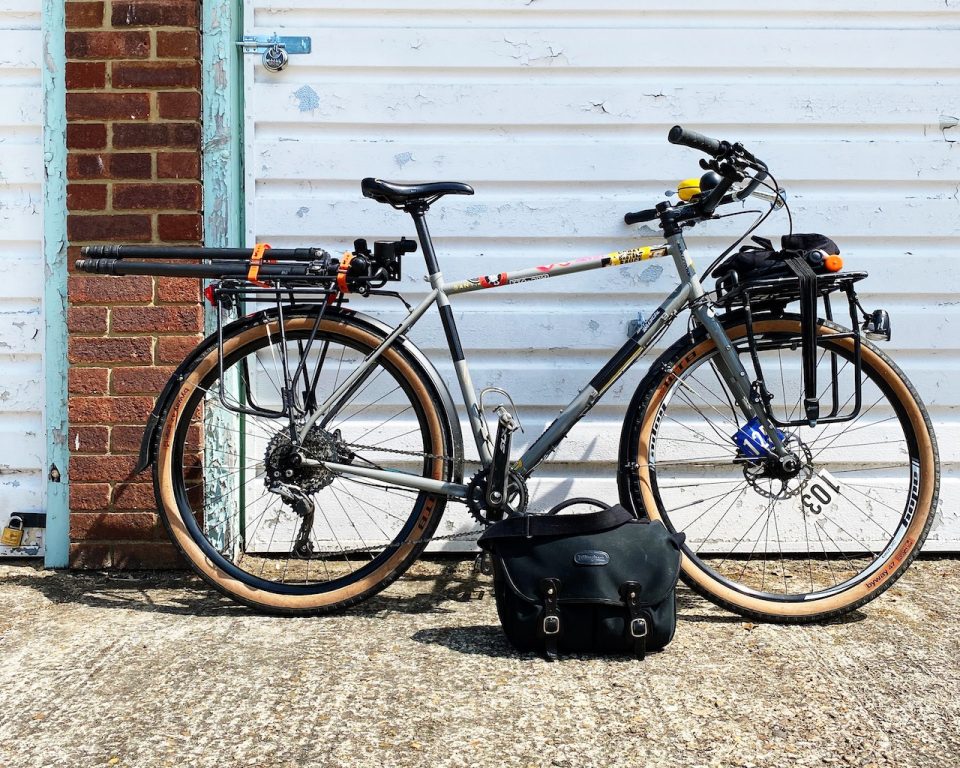
So first things first. We need a frame. I looked at the Brother Cycles Kepler Disc especially as I could get from the local bike shop but didn’t quite like the look of the geometry, price or colour options going. The top tube seemed to slope down to the front slightly which to my eye was a bit odd. Anyway, next stop was Alpkit and their range of Sonder bikes. The Santiago in particular looked good and they had a load of different builds going including a flat bar version with 650b. It seemed to tick all the boxes and frame and forks for £400 was pretty good (now £500). Steel, loads of bottle bosses, mounts etc. I could have just ordered the full build but wouldn’t have given us the pleasure of tinkering with it all. I wanted to try and build it all myself, including bleeding disc brakes for the first time. More on that in a bit.
The main other parts:
Groupset: Shimano SLX, online and without brakes.
Brakes: Shimano SLX, again purchased online.
Bottom bracket: Cheapest Shimano one going.
Rear wheel: Shimano XT hub and cheap Kinlin rim, built up by a friend.
Headset: Orbit Pro XL – ashamed to say this was fitted with a hammer.
Locking QRs: Halo hex skewers, to avoid wheels being stolen.
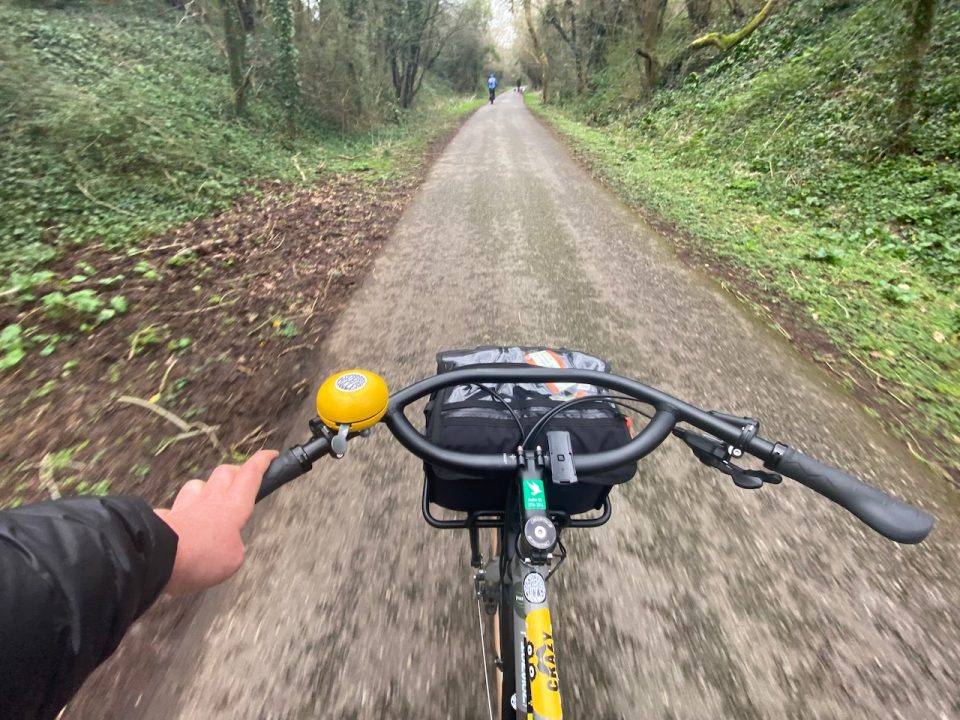
Tyres: I went with the WTB Byways and love them.
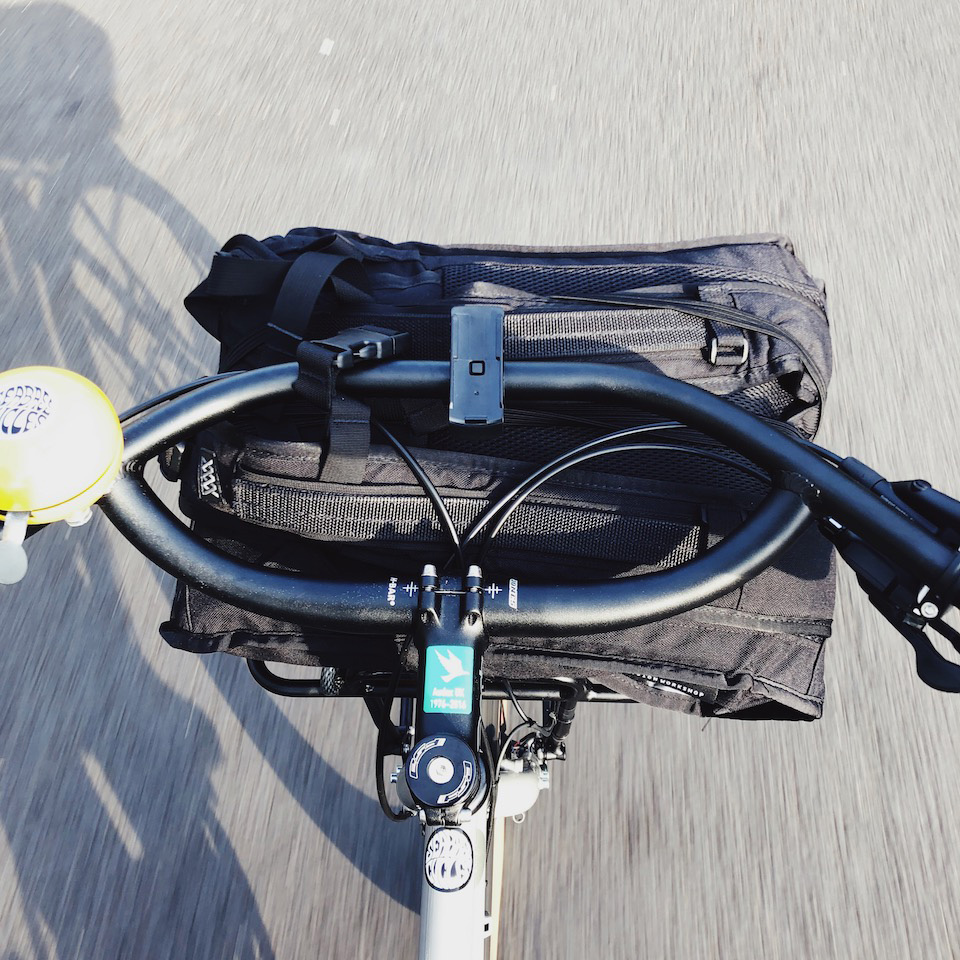
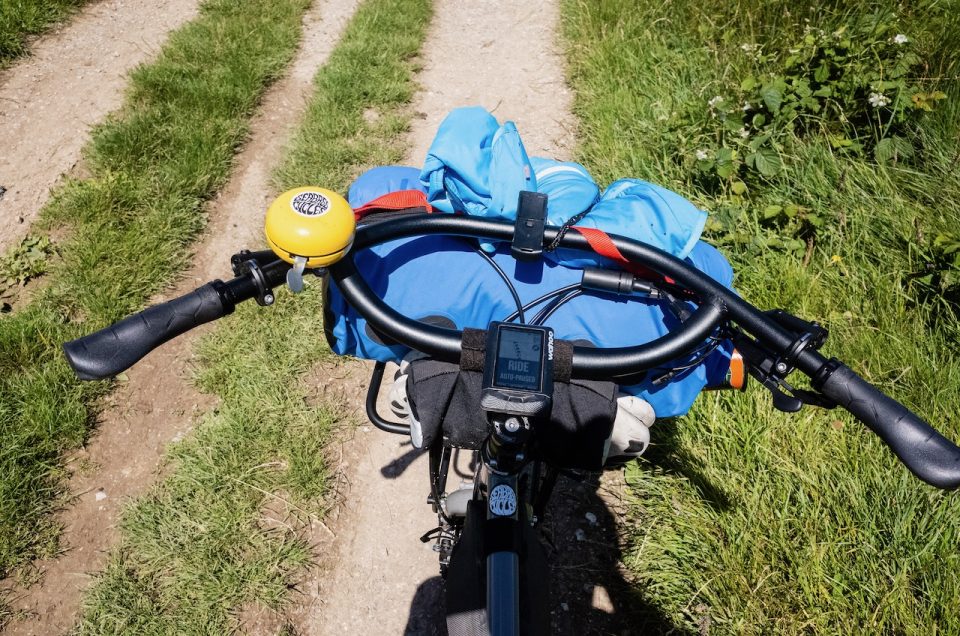
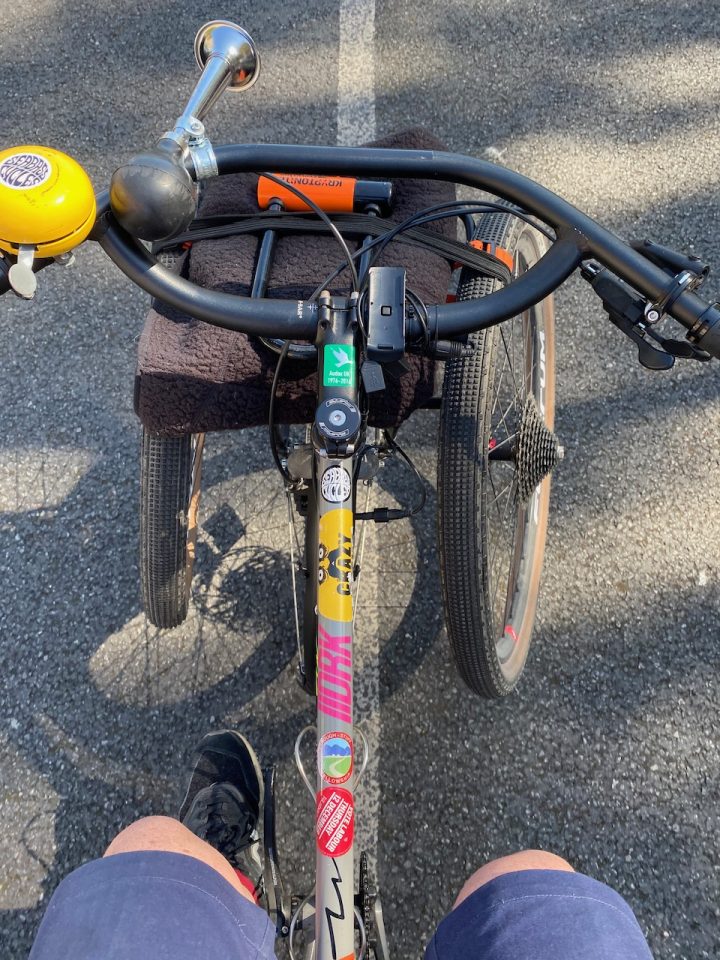
Bars: Jones bars from local bike shop. Never used them before but are absolutely brilliant. So comfy and really add to that relaxed and more upright feel of the bike.
Seatpost: Cheapest one on Planet X.
Stem: Got a cheap one from Planet X but swapped with nicer one from turbo which was slightly longer.
Mudguards: SKS plastic ones from the local bike shop.
Saddle: Whatever was spare in the garage – WTB I think.
Dynamo lights: Reused from previous bike but B&M ones.
Pizza rack: There is only one really Specialized pizza rack.
Stickers: Models own. Make it look more ratty.
3M reflective tape (black): eBay. I cover the bike in this to hide the logos and add some sideways visibility.
Inevitably I didn’t build of much of it as I hoped and it went to Seabass for the brakes to be bled and gears to be sorted. I’m more confident on gears now and could probably do almost all of it now I have the correct BB tool.
There’s not much I would do differently other than maybe consider a hub gear for the rear. You could easily get away with a Deore groupset as more than enough for pootling around town. A later addition was a rear rack from Seabass (more carrying capacity), a bigger rear dynamo light (fitted to said rack), a few straps from pannier.cc and a second hand ‘rando bag’ Restrap bag. Sadly even the bigger Restrap bags aren’t big enough to fit a MacBook Pro otherwise it would be even better for commuting.
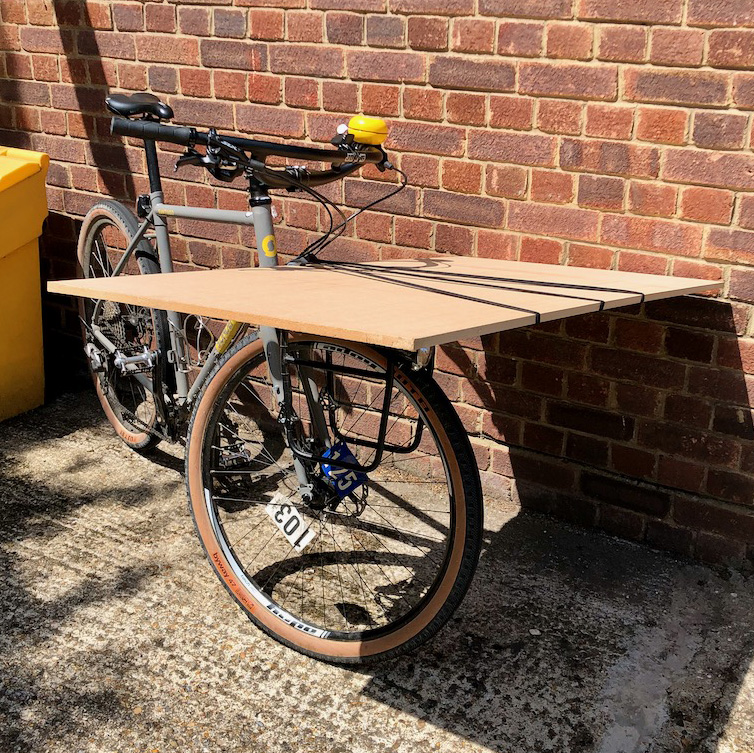
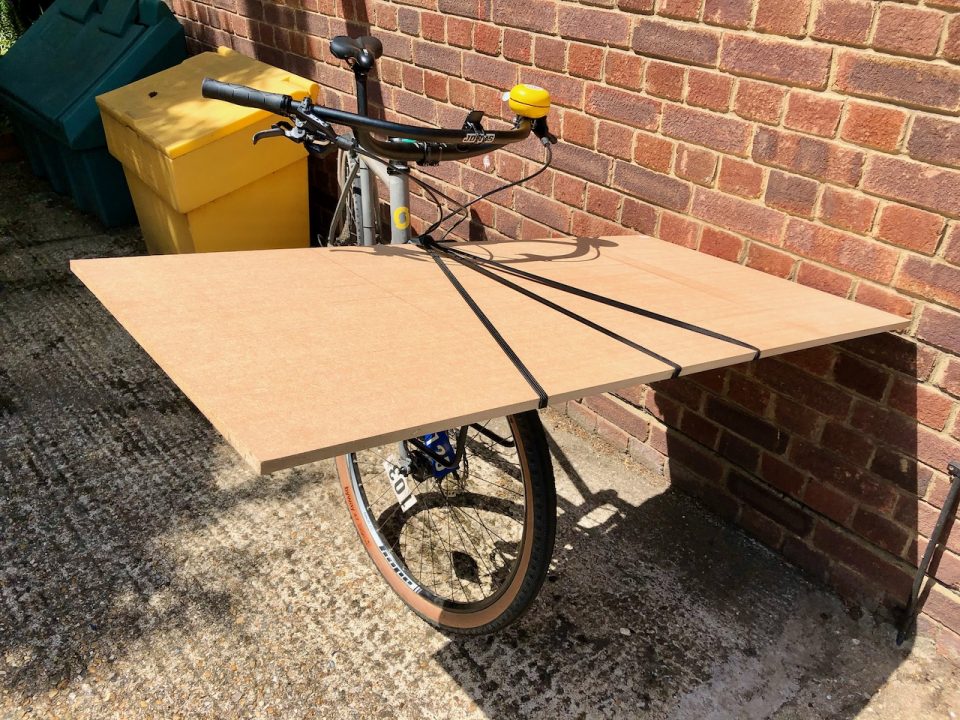
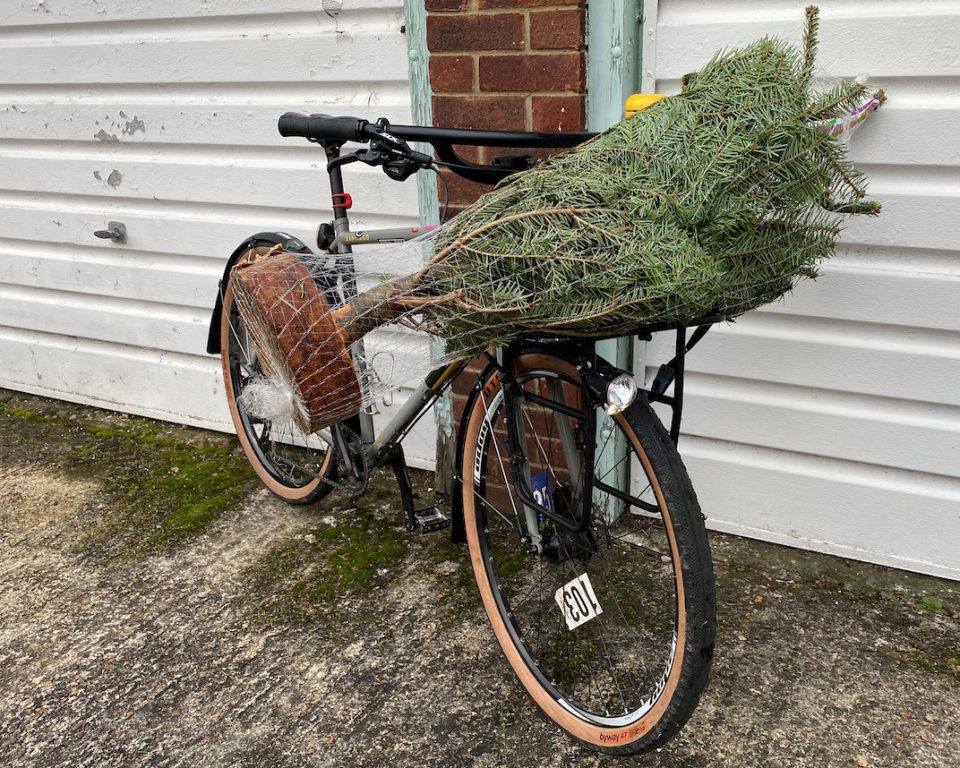
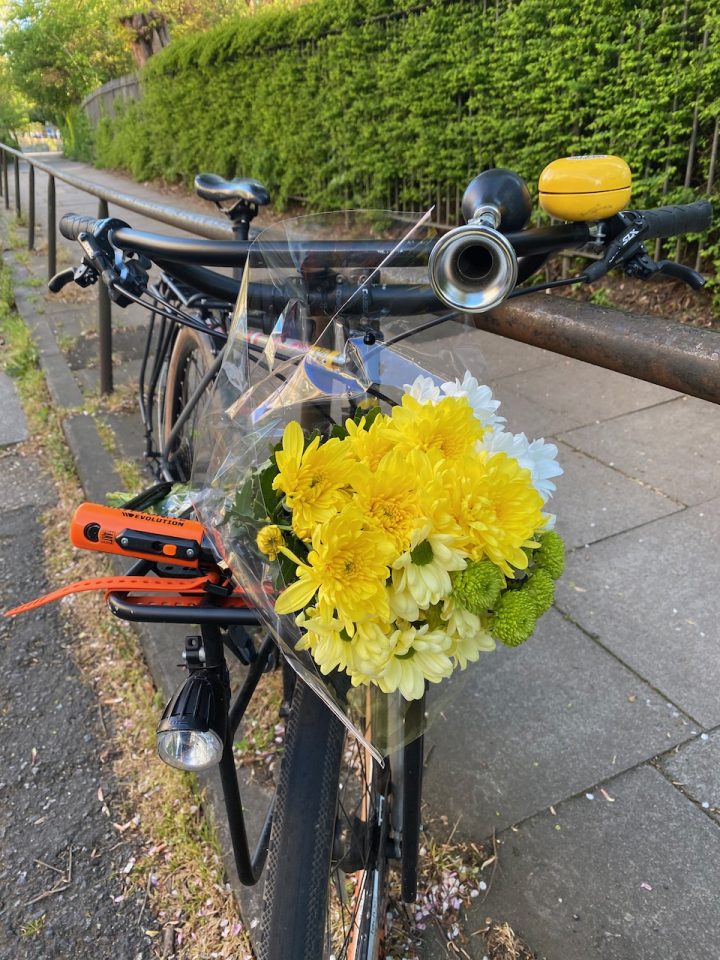
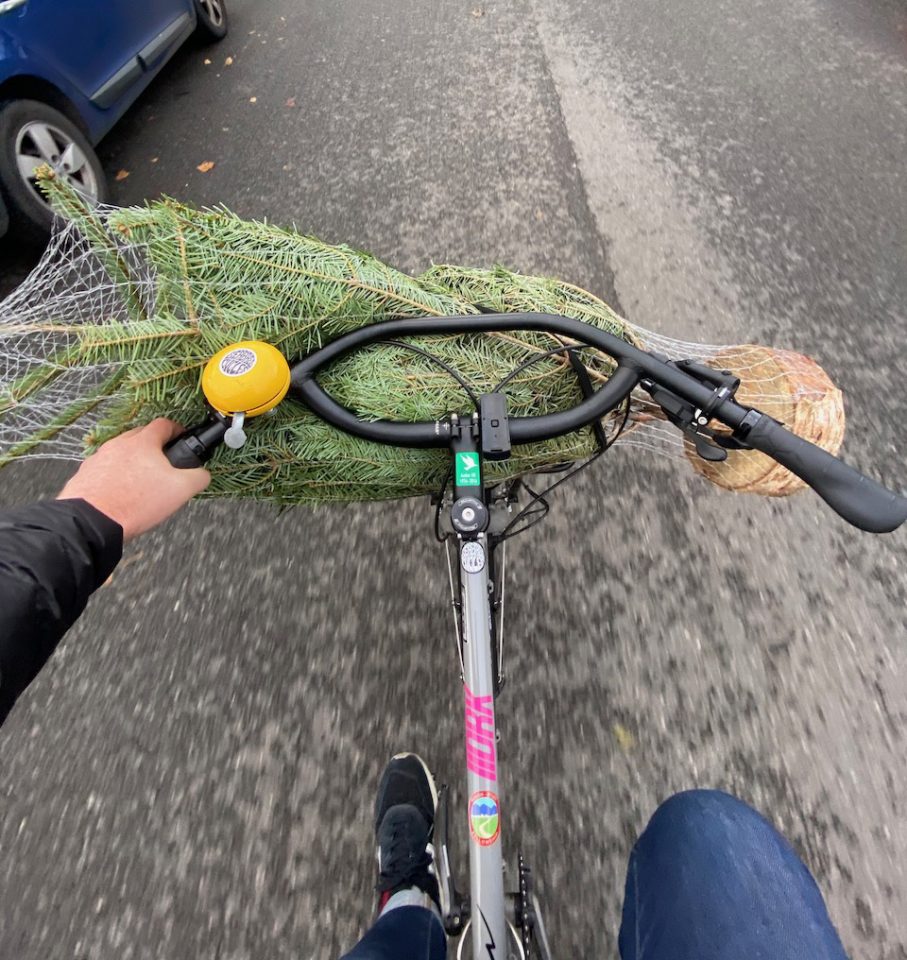
I’ve had some great times on this bike and carried a lot of shit on it! From shopping at the local Morrisons, large bits of wood, photography kit, a Christmas tree, bivvy kit, flowers, my rucksack, a pair of wheels and so on. A few pics below showing the full range of antics. It always brings a smile to my face to see some of the silly things I’ve tried to carry on it.
I think bikes like these are even more important as we try and refocus on starting some form of life after corona. There’s no way I’m taking public transport for shopping any more, no matter what the weather. I’ll start dismantling this next week to something that’s even more suited to reducing public transport and my van. The frame will be available if anyone wants it – 56cm. Otherwise it will get hung up in the garage for some other weird build.