New Mac & Backup strategy
As a warning this is a potentially boring nerdy post – but someone will find it interesting I’m sure, so I’m writing it. I decided to write this down after getting an enormous amount of @ replies on Twitter the other day when asking about backup options. Not many pretty pics I’m afraid.
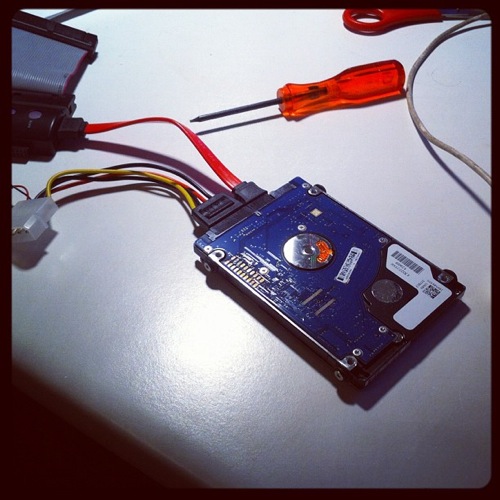
Just before Christmas Emma’s old MacBook Pro died. Not entirely unexpected as it was one of the original 2005 ones where they first made the transition to Intel from PowerPC. The logic board has gone I think and not really worth replacing due to the age of the Machine. I’ve been after a new Mac for a while now so ordered the best machine I could afford so that I could retire my MacBook Pro 13″ and give it to Emma as her machine. Fortunately the HD was all fine and I grabbed it out and made multiple copies of it before using migration assistant to merge it onto her new machine. That Universal Drive Adaptor I bought is a useful bit of kit to have around for times like this.

Whilst I’d love a Mac Pro I simply couldn’t afford one at upwards of £2k for the base model. Even if I had the money I’m not sure I’d bother as they haven’t been updated in over a year so fairly old tech in there at a very high premium. So instead I went for a MacMini with the Dual 2.7ghz Core i7 processors (4 cores effectively) as well as the 256GB SSD boot drive and a 7200rpm 750GB drive in the other internal bay. I also got a rather expensive RAM upgrade from OWC in the US which fills it with 16GB RAM for a little more future proofing. The SSD is worth the money alone and is incredibly fast to boot and load programs.
Each time I’ve got a new machine I’ve moved my old user profile over and apps from the last one. I think I’ve done this about 3 or 4 times now which obviously brings all sorts of crap each time in the ~/Library folder from old programs I no longer use. So it’s given me a chance to start a fresh and re-organise all my content and also re-consider my back up strategy. I’ve been installing programs and widgets I need as I remember them and I’ve been surprised at how many add-ons there are that I use to customise the Mac experience – this’ll be the subject of another blog post I think. Having the App Store has actually helped this as I can just go and install from there without worrying about serials etc. Other’s have been re-downloaded and then the individual preferences folders moved over as needed. Also having two drives in the machine helps as it also free up some of my other external disks for other duties.

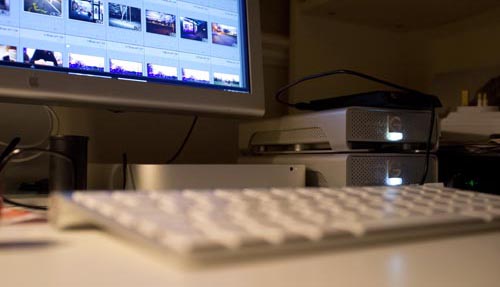
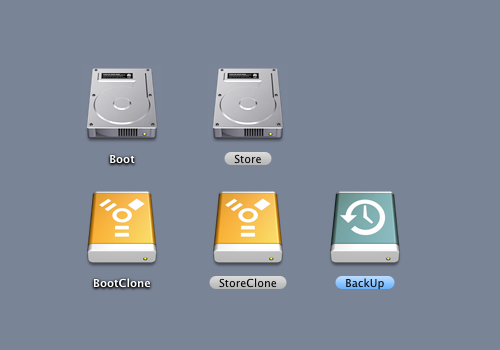
I’ve gone for the SSD as the main boot volume with my user profile and the 750GB internal drive is used as a large file store. Unfortunately my Lightroom file store is too big to store on the SSD. The actual library files do sit on the SSD though which has sped things up a treat. Having the large disk internally on a SATA connection has also sped things up. Before I had all of my images on an external Firewire 800 disk which was far slower. So having moved all of this onto the built in disks I had two external drives to use both G-Tech but one of 1TB and another of the 2TB variety. This is where I re-worked my backup strategy. The 2TB drive is now a Time Machine drive which has plenty of room to back up and keep plenty of incremental copies of the internal drives. The other 1TB drive has now been partitioned into two drives one of 250GB and one of 750GB (you get where this is going right?). So each of these drives then clones the main drives in the machine overnight via SuperDuper (only what’s changed) which means I could take this drive, boot from it on another Mac and start working exactly as I was when the machine stopped working. Having the Time Machine drive also means I can keep an incremental store if I stupidly delete something which is very useful. I used to rely on just this and it saved me a few times.

In addition to the on site backup I started using Jungle Disk to backup all my data to Amazon S3 last year but this was starting to cost a lot – for around 300GB it was about $30 a month. The guide I followed to set it up is available to buy from x-equals.com. The file sharing was also very unreliable (I’ve replaced this with DropBox). For the actual backup I’ve decided to switch to BackBlaze and I’m now in the process of re-uploading all my content – so far about 270GB done. What swung it for me was the low cost of only $5 a month. For a real geek fest then check out their blog post showing how they offer so much storage for such a low price – an interesting read if you’re in any way techy.
So overall I think that’s pretty safe for my photos and documents for now – this only covers the process when I’m back at home and there’s another process for making multiple backups whilst shooting. I guess that if I wanted to be double sure I would have another offsite drive copy of the boot and store which I could take to the office each week. I think that’s over the top for now though but I’ll consider it in the future.
So, that’s how I do it but here’s a few blog posts from others on how they do it.
Mirrored? Single? Manouvre – Leon Neal
Bulletproof backups – Shawn Blanc
My Backing Up Workflow aka ‘My Battle with Paranoia’ – Gyn Dewis
Anything I’ve missed?